How do you sharpen a chisel?
Chisels are popular tools amongst woodworkers and DIY enthusiasts. You use it to make cut-outs or to chop away pieces of wood. There are, of course, also chisels you can use on stone or even metal. Each incredibly useful, but on one condition: they need to be sharp. Razor-sharp preferably.
Is your chisel no longer sharp? In this topic we will tell you how to make sure your chisel will once again be razor-sharp. You can namely easily do that yourself! So take out your chisel and continue reading!
1. Choosing the right sharpening stone
There are different types of sharpening stones that can be used for different purposes. As such it is therefore important to choose the stone that is most suited for your chisel. A coarse sharpening stone (200 to 600 grit), for instance, is better to fix damages in the edge, while a sharpening stone with a medium grain (600 to 1000) is better to maintain a sharp edge. A sharpening stone with a grain size higher than 1000 is not necessary for a chisel.
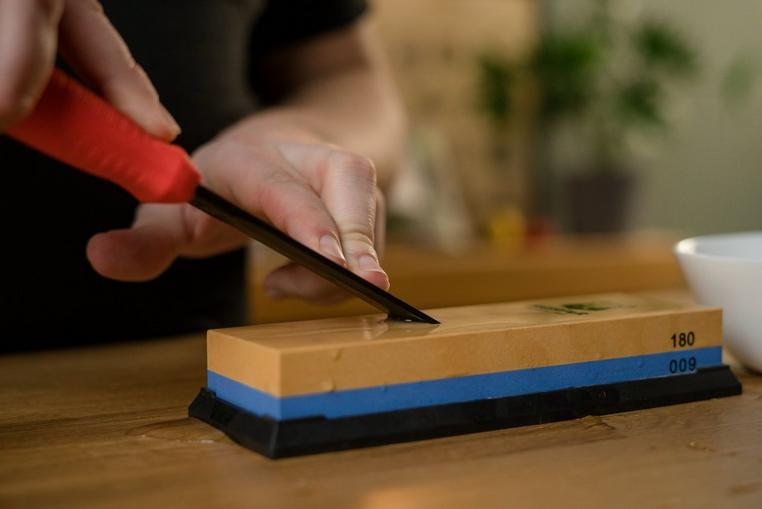
2. Hold the chisel at the right angle to the stone
For most chisels this is approx. 25-30 degrees. Use the angle of the chisel's bevelled edge as a guide. It is important to maintain a consistent angle to make sure you sharpen the entire edge. Otherwise you won't end up with a sharp chisel.
3. Sharpening the chisel
Apply a little pressure to the chisel and gently move it over the stone. Make sure you maintain the right angle and use the entire stone. Occasionally use your finger to see if you can start to feel a burr on the unsharpened side of the edge. This way you know you are doing it right! As soon as you feel the burr you switch to a different sharpening stone with a higher grain size or move to step 4.
4. Levelling the flat side of the chisel
As soon as you feel the burr you place the flat end of the chisel on the stone and make the same movement as you did before. This is how you remove the burr. Moving the chisel over the sharpening twice or three times will do the trick.
5. Stropping the chisel
By stropping the chisel you make sure it becomes even sharper. With a strop you remove tiny scratches and polish the edge. Add a small amount of stropping compound to a leather strop and move the sharpened part over the strop to make sure the edge won't cut into the leather.
6. Testing your sharp chisel
You test your chisel by cutting a small piece of paper or making a small cut in a soft piece of wood. If the chisel is not sharp enough you need to repeat the before mentioned process until it is! Afterwards clean the chisel and store it in a safe place.
Storing your chisel
It is important to know that sharpening a chisel might take some getting used to. It can take some time before you get the hang of it. Be patient and take your time. Before you know it you will be an expert at sharpening chisels! To make sure your chisel stays sharp and in great shape, store it the right way. This means storing it while clean, dry and protected. A chisel roll or storage case can be great solutions if you safely want to store and organize your chisel.
Want to lean more about sharpening pocket knives, kitchen knives, scissors, fixed knives or sharpening in general? Continue reading below, via the links listed on this page.


